Setting Up the Development Environment
This article explains how to set up the development environment necessary for developing Beutl extensions.
This guide introduces the methods using Visual Studio Code or Visual Studio.
Visual Studio Code
Installation
- Install the .NET SDK.
Select the .NET SDK version according to the Beutl version you are targeting.
Version Compatibility Table
- Install Visual Studio Code for your development environment from this page.
Install Extensions in Visual Studio Code
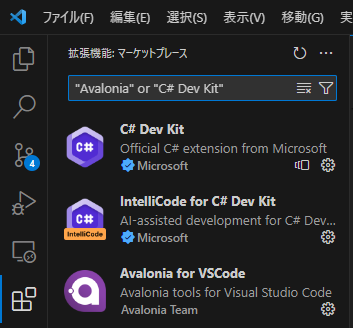
- Install C# Dev Kit in Visual Studio Code.
If you are developing UI extensions, install Avalonia for VSCode.
Visual Studio
Windows only
Installation
-
Download Visual Studio from this page.
-
Open the downloaded installer.
-
When the workload selection screen appears, open individual components.
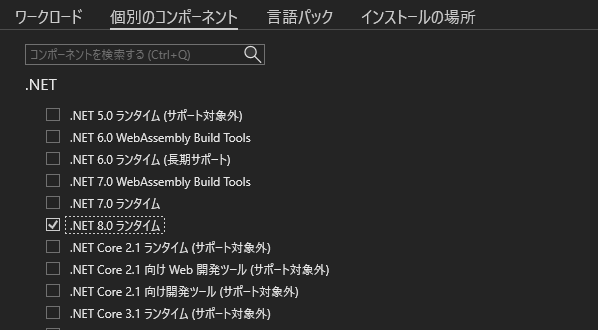
- Select the following components.
(This is the minimum configuration. Add as needed.)
.NET 10.0 Runtime.NET SDKNuGet Package ManagerC# and Visual Basic Roslyn CompilersMSBuild.NET Profiling ToolsJust-In-Time DebuggerC# and Visual BasicIntelliCode
- Set the Language Pack and Installation Location, then click Install.
Install Extensions in Visual Studio
You can skip this section if you are not developing UI extensions.
- After installation, the following start window opens.
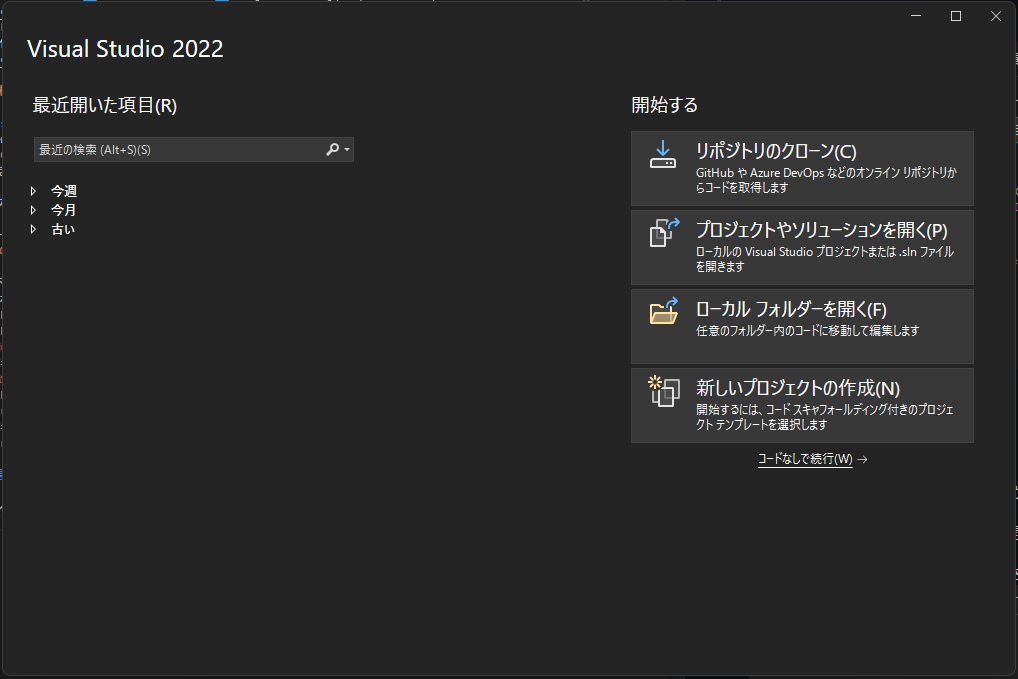
Click Continue without code in the lower right to open the following window.
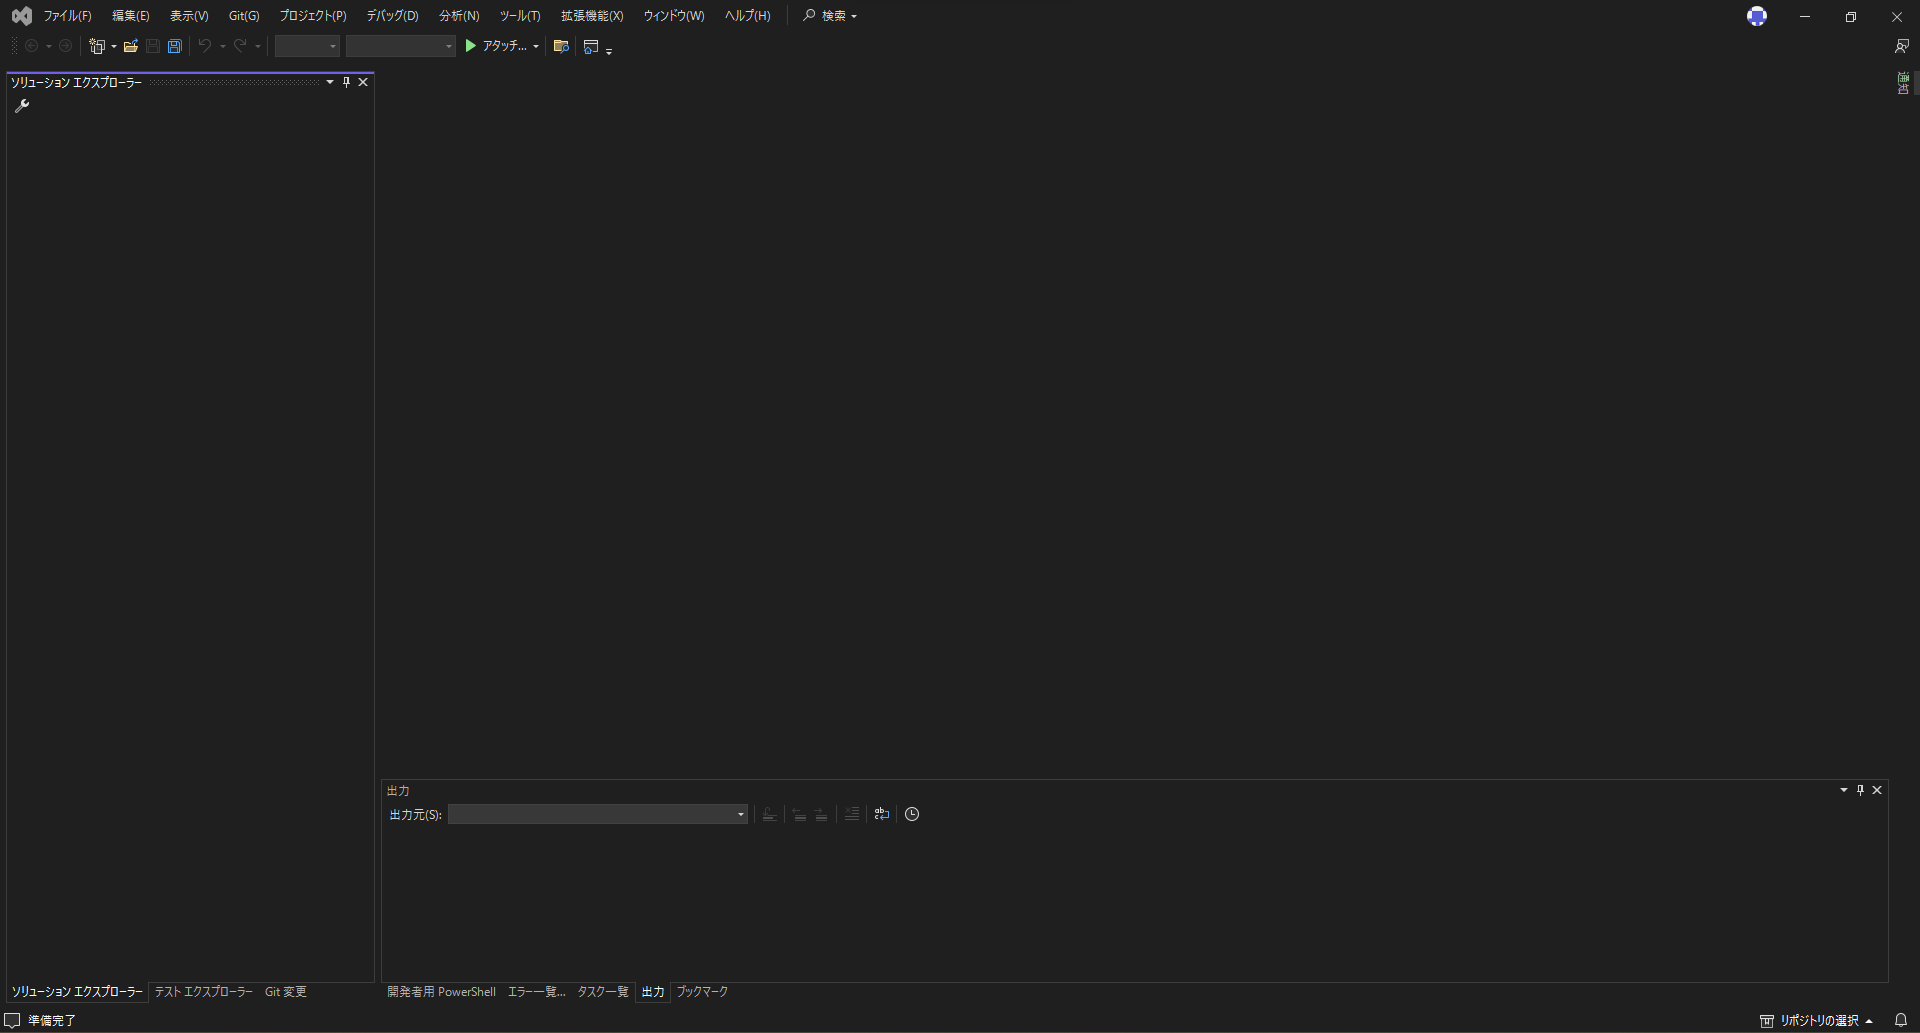
- From the top menu, click Extensions > Manage Extensions.

- In the displayed window, install Avalonia for Visual Studio 2022.

The environment setup is now complete.
If any issues arise, please refer to the official documentation for Visual Studio Code or Visual Studio.